Understanding Peeling Paint in Bathrooms
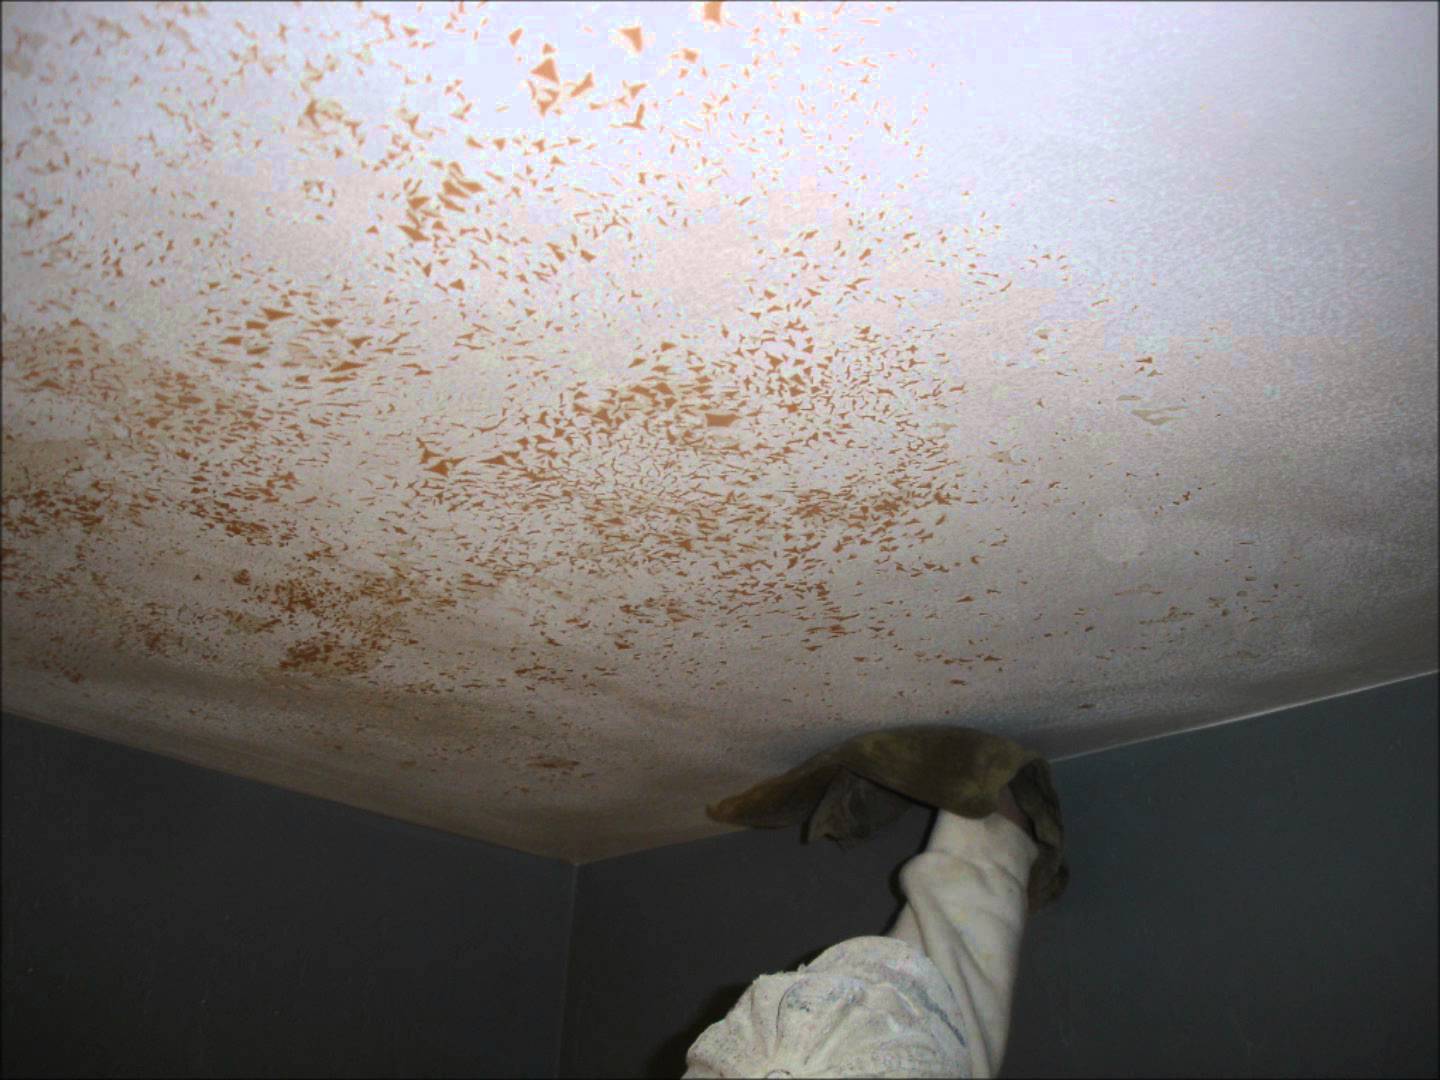
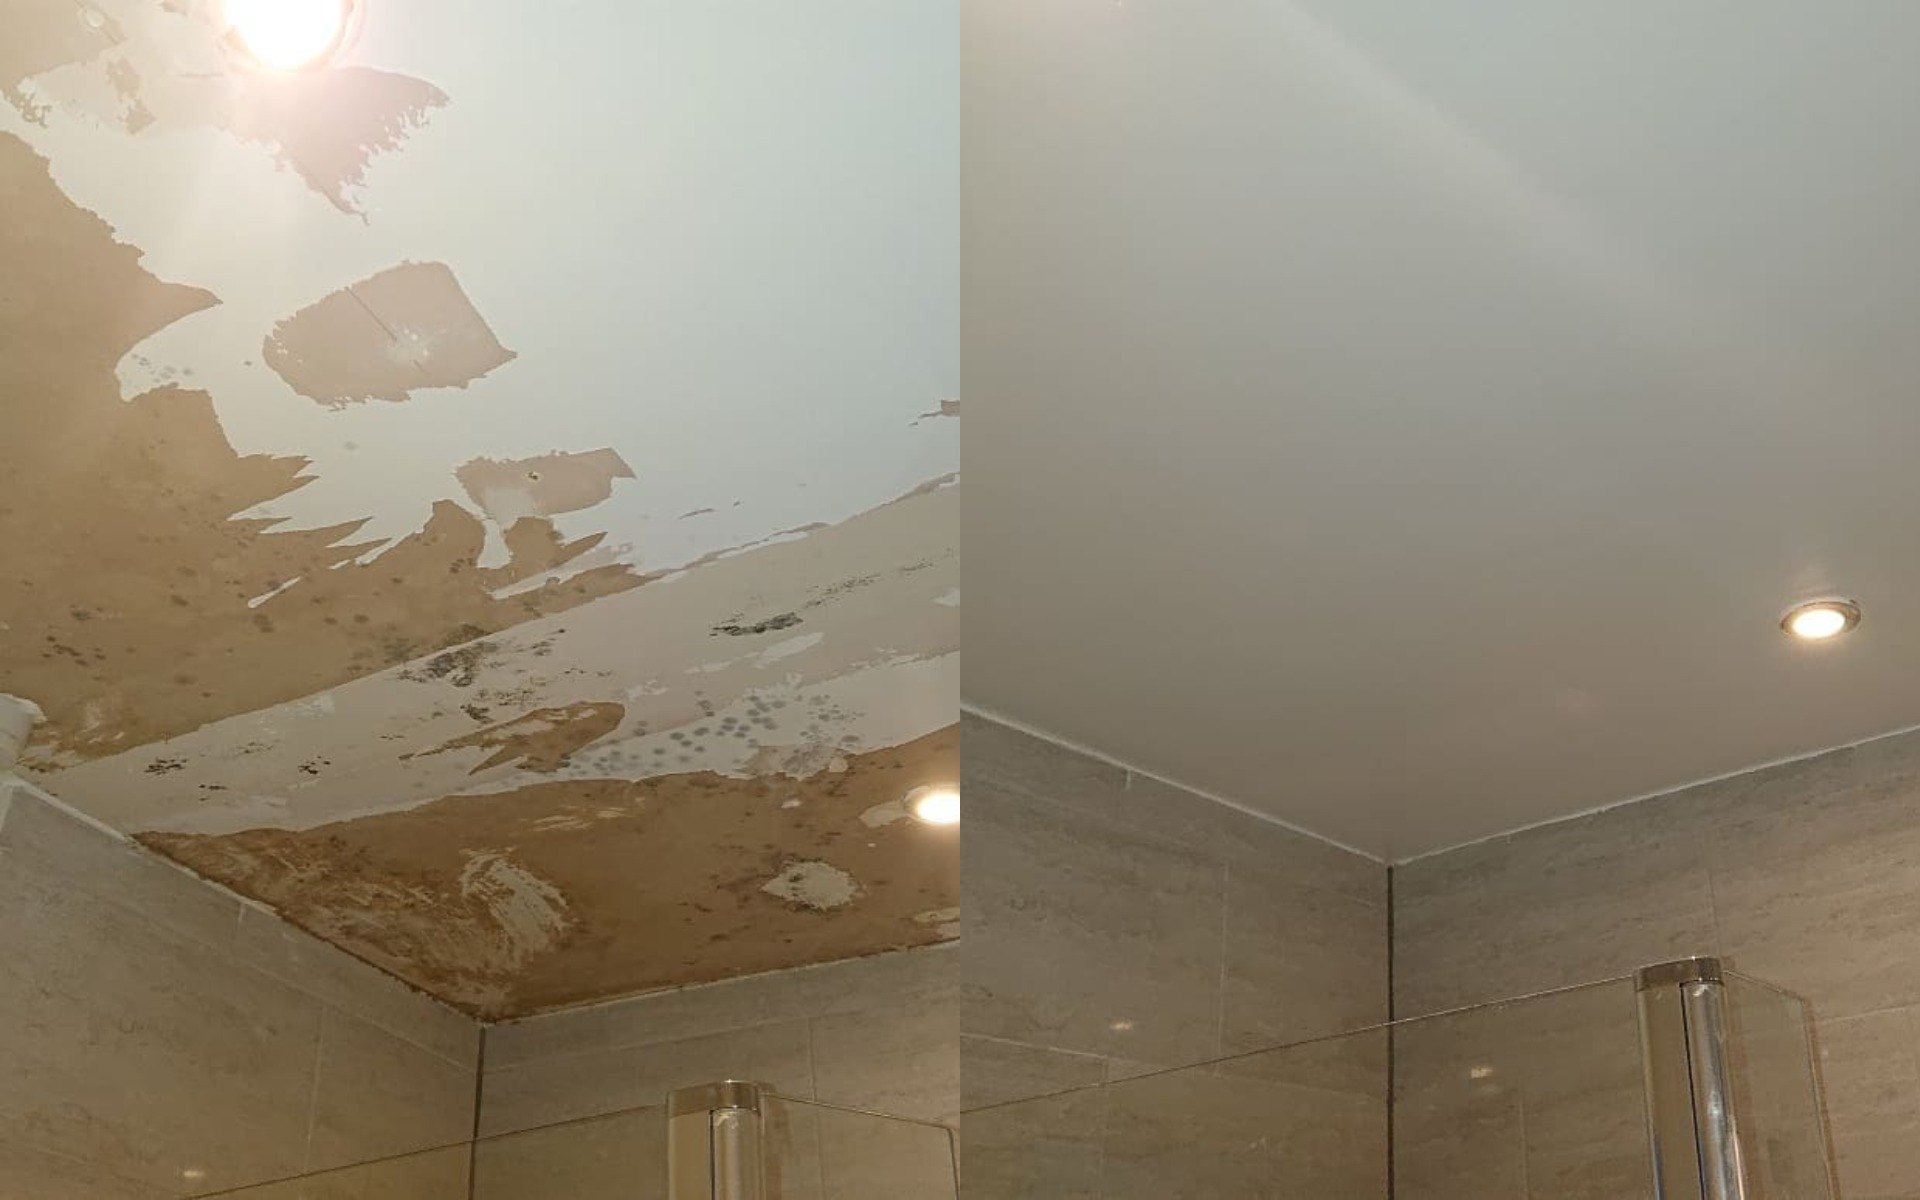
Peeling paint in bathrooms is a common problem that can be caused by a variety of factors, primarily related to the unique environment of this space. Bathrooms are prone to high levels of moisture and humidity, which can create an environment that is challenging for paint to adhere to.
Causes of Peeling Paint in Bathrooms
Moisture and humidity are the primary culprits behind peeling paint in bathrooms. The constant presence of water from showers, baths, and sinks creates a humid environment that can lead to condensation, which can then cause paint to peel. Additionally, improper preparation before painting, such as not cleaning the surface thoroughly or using the wrong type of primer, can contribute to peeling.
Types of Paint Suitable for Bathrooms
Not all paints are created equal when it comes to bathroom environments. Some paints are specifically formulated to withstand the challenges of moisture and humidity.
- Acrylic latex paint: This type of paint is a popular choice for bathrooms because it is water-based, dries quickly, and is mildew-resistant.
- Epoxy paint: This type of paint is extremely durable and resistant to moisture, making it a good option for areas that are frequently exposed to water, such as shower stalls or tubs.
- Oil-based paint: While less common than latex paint, oil-based paint is also a good option for bathrooms. It is known for its durability and moisture resistance. However, it takes longer to dry and can be more difficult to clean up.
Identifying the Underlying Cause of Peeling Paint
Identifying the underlying cause of peeling paint is essential for choosing the right solution.
- Check for leaks: Inspect the bathroom carefully for any signs of leaks, such as water stains on the ceiling or walls. Leaks can create moisture problems that can lead to peeling paint. If you find a leak, it’s important to fix it as soon as possible.
- Check for condensation: Condensation is another common cause of peeling paint in bathrooms. It occurs when warm, moist air comes into contact with a cold surface, such as a window or wall. To reduce condensation, you can improve ventilation by using a fan or opening a window. You can also consider installing a dehumidifier to remove excess moisture from the air.
- Check the paint: If the paint is peeling, it’s important to check the type of paint that was used and whether it was properly prepared. For example, if the paint was not properly primed or if the wrong type of paint was used, it could lead to peeling.
Preparing the Surface for Repair: How To Fix Peeling Paint In Bathroom

Before you can start repainting, you need to prepare the surface properly. This involves removing any loose paint, sanding the surface smooth, and cleaning it thoroughly. This ensures that the new paint adheres properly and creates a smooth, even finish.
Removing Loose Paint
Loose paint can prevent the new paint from adhering properly, so it’s essential to remove it before you start painting. You can use a scraper, putty knife, or sandpaper to remove loose paint.
- Use a scraper or putty knife to gently scrape off any loose paint. Be careful not to damage the underlying surface.
- For stubborn paint, you can use a heat gun to soften it before scraping. Be sure to wear safety glasses and gloves to protect yourself from the heat.
- Once you’ve removed the loose paint, use sandpaper to smooth out any rough edges.
Sanding the Surface
Sanding the surface helps to create a smooth, even surface for the new paint to adhere to. It also helps to remove any imperfections, such as scratches or dents.
- Use a medium-grit sandpaper to sand the surface. Start with a coarser grit and gradually move to a finer grit for a smoother finish.
- Sand the surface in a circular motion, applying even pressure. Be careful not to sand too deeply, as this can damage the underlying surface.
- After sanding, wipe the surface clean with a damp cloth to remove any dust or debris.
Cleaning the Surface
Cleaning the surface is essential to remove any dirt, grease, or grime that could prevent the new paint from adhering properly.
- Use a mild detergent and warm water to clean the surface. Avoid using harsh chemicals, as these can damage the surface.
- Rinse the surface thoroughly with clean water and allow it to dry completely before proceeding.
Patching Holes and Cracks
Holes and cracks in the wall can prevent the new paint from adhering properly and can create an uneven finish. It’s essential to patch these before you start painting.
- Use a patching compound to fill in any holes or cracks. Apply the compound with a putty knife, smoothing it out as you go.
- Allow the patching compound to dry completely before sanding it smooth with a fine-grit sandpaper.
- Once the surface is smooth, clean it with a damp cloth to remove any dust or debris.
Using a Primer
Using a primer is essential for creating a smooth, even surface for the new paint to adhere to. It also helps to seal the surface, preventing the new paint from absorbing into the wall and creating an uneven finish.
“In bathroom environments, it is crucial to use a primer specifically designed for damp areas. This type of primer will resist moisture and prevent mildew growth, ensuring a long-lasting and durable paint job.”
- Apply the primer with a paintbrush or roller, using even strokes.
- Allow the primer to dry completely before applying the new paint.
Applying New Paint

Now that the surface is prepped and ready, it’s time to apply the new paint. This step requires careful attention to ensure a smooth, even finish that lasts.
Choosing the Right Paint, How to fix peeling paint in bathroom
Choosing the right paint for your bathroom is crucial, as it needs to withstand moisture and frequent cleaning. Look for paints specifically labeled for bathrooms or high-moisture areas. These paints are formulated with mildew-resistant properties and offer better durability.
Applying Paint with Different Tools
The method you choose for applying paint depends on the size of the area and your preference.
Roller
Rollers are the most common tool for painting large areas. They provide a smooth, even finish and are relatively easy to use.
- Load the roller: Dip the roller in the paint tray, ensuring it’s evenly coated but not overloaded.
- Apply the paint: Roll the paint in long, smooth strokes, overlapping each stroke by about half the width of the roller.
- Avoid drips: Use a light touch to prevent paint from dripping.
Brush
Brushes are best for painting corners, edges, and areas where a roller can’t reach.
- Load the brush: Dip the brush in the paint, ensuring the bristles are fully coated.
- Apply the paint: Use smooth, even strokes, working the paint into the surface.
- Avoid brushstrokes: Use a light touch and smooth out any brushstrokes as you paint.
Spray Gun
Spray guns offer a fast and efficient way to apply paint, especially for large areas.
- Prepare the spray gun: Clean the spray gun thoroughly and follow the manufacturer’s instructions for setting up the paint and air pressure.
- Apply the paint: Hold the spray gun a consistent distance from the surface and move it in a smooth, even motion.
- Overlapping: Overlapping each stroke by about half the width of the spray pattern helps ensure even coverage.
Applying Thin, Even Coats
Regardless of the tool you choose, applying thin, even coats of paint is essential for a professional-looking finish.
“Thin coats allow the paint to dry properly and prevent drips, sags, and uneven coverage.”
Drying Time
Allow sufficient drying time between coats. This ensures that each layer adheres properly to the previous one. The drying time varies depending on the paint type and environmental conditions. Refer to the paint manufacturer’s instructions for the recommended drying time.
Recommended Number of Paint Coats
The number of paint coats needed depends on the severity of the peeling and the opacity of the paint.
- Slight peeling: Two coats of paint are usually sufficient to cover the peeling and provide a smooth finish.
- Moderate peeling: Three coats of paint are generally recommended for moderate peeling.
- Severe peeling: Four or more coats may be necessary to achieve a smooth, even finish when dealing with severe peeling.
